I’m still building up a new quality portfolio post-lockdown, which entails restoring my “muscle memory” using my camera again and identifying new and creative projects. In the meantime, I thought you might be interested in seeing my studio, or rather “the Den” as I call it, together with its story: behind the scenes and where it all happens…

Downstairs toilet
We moved to Glastonbury 10 years ago this month, into a small new-build mid-terrace house five minutes’ walk from the centre of town. Despite its petite-ness, it had a toilet for the disabled downstairs. This is the only photo I have of the original room when we moved in - a glimpse from the foot of the stairs. It’s merely 1.6m wide x 1.4m deep x 1.9m high: I’ve just measured it sitting in my chair! As I was working from home I knew I’d convert it into an office, so removed the toilet and washbasin and installed two shelves and a worktop along the back wall.
During the first year, we discovered that the builder was not as diligent as we thought (that’s a whole different story!). A long list of snagging grew, the worst item of which was damp that emerged in the office, initially hidden by books and files. The back of the house is set into the back garden and it appeared that water was seeping in somewhere, causing extensive damp, shown in these three pictures.


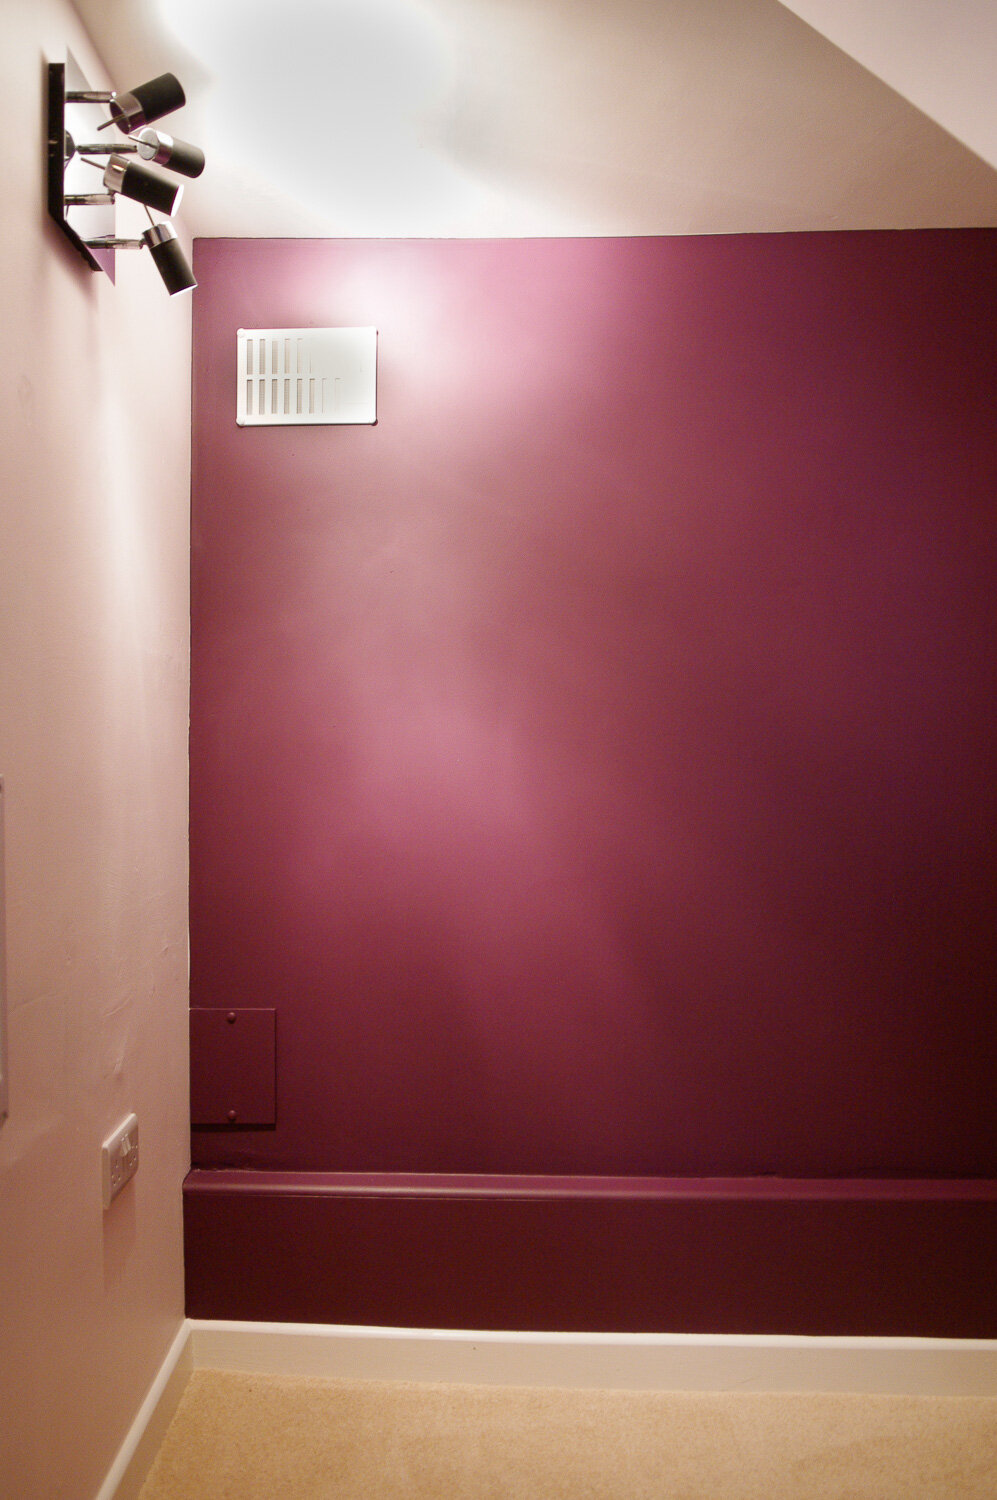
After consultation with a specialist damp proofing contractor in conjunction with our surveyor, it was recommended that all the plaster would have to be stripped out and inspection holes cut in the likely leakage places to investigate and repair the damage externally. This work took two weeks and was disruptive enough to move out to a local holiday home. Picture 1. shows the walls fully stripped and the three holes through which the inspections and external repairs could take place. Picture 2. shows the first of three water-proof rendering coats applied before the final plaster could be applied. Picture 3. shows the finished decorated and carpeted project before shelving and other equipment was installed.


After considerable research, a suitable Scandanavian shelving system was chosen to design a bespoke layout for the very confined area, carefully measuring and positioning every piece of equipment, books and files to maximise the use of every square centimetre. I was in DIY heaven and loved piecing it all together when it finally arrived!


Finally, a couple of shots to show my use of the Den for processsing my photography in Lightroom. Note the low level IKEA chair (which helpfully swivels) and the main Acer screen fitting into its made-to-measure opening, showing one of my “Before and After” shots featured in last month’s blog. This is where I spend hours processing photography, posting daily Instagram images, and creating my monthly blogs.

